Appearance
4.1.3 Design and Engineering
📝 Summary
Two ceiling-mounted laser projectors present an animated overview of the dam's design and engineering across a single blended image.
📦 Equipment
| Device | Model | Quantity | Location |
|---|---|---|---|
| Epson Laser Projector | EB-PU1008B | 2 | Ceiling |
| Epson Ultra Short Throw Lens | ELPLX02S | 1 | Projector A |
| Epson Short Throw Lens | ELPLU03S | 1 | Projector B |
| Peerless Ceiling Plate | CMJ310 | 2 | Ceiling |
| Peerless Extension Column | AEC009012 | 2 | Ceiling |
| Peerless Projector Mount | PJR125 | 2 | Ceiling |
| IDK HDBaseT Transmitter | HDC-S01U-T | 2 | MDF Rack |
| BrightSign Player (DVP07-01) | XT2145 | 1 | MDF Rack |
🎨 Renders
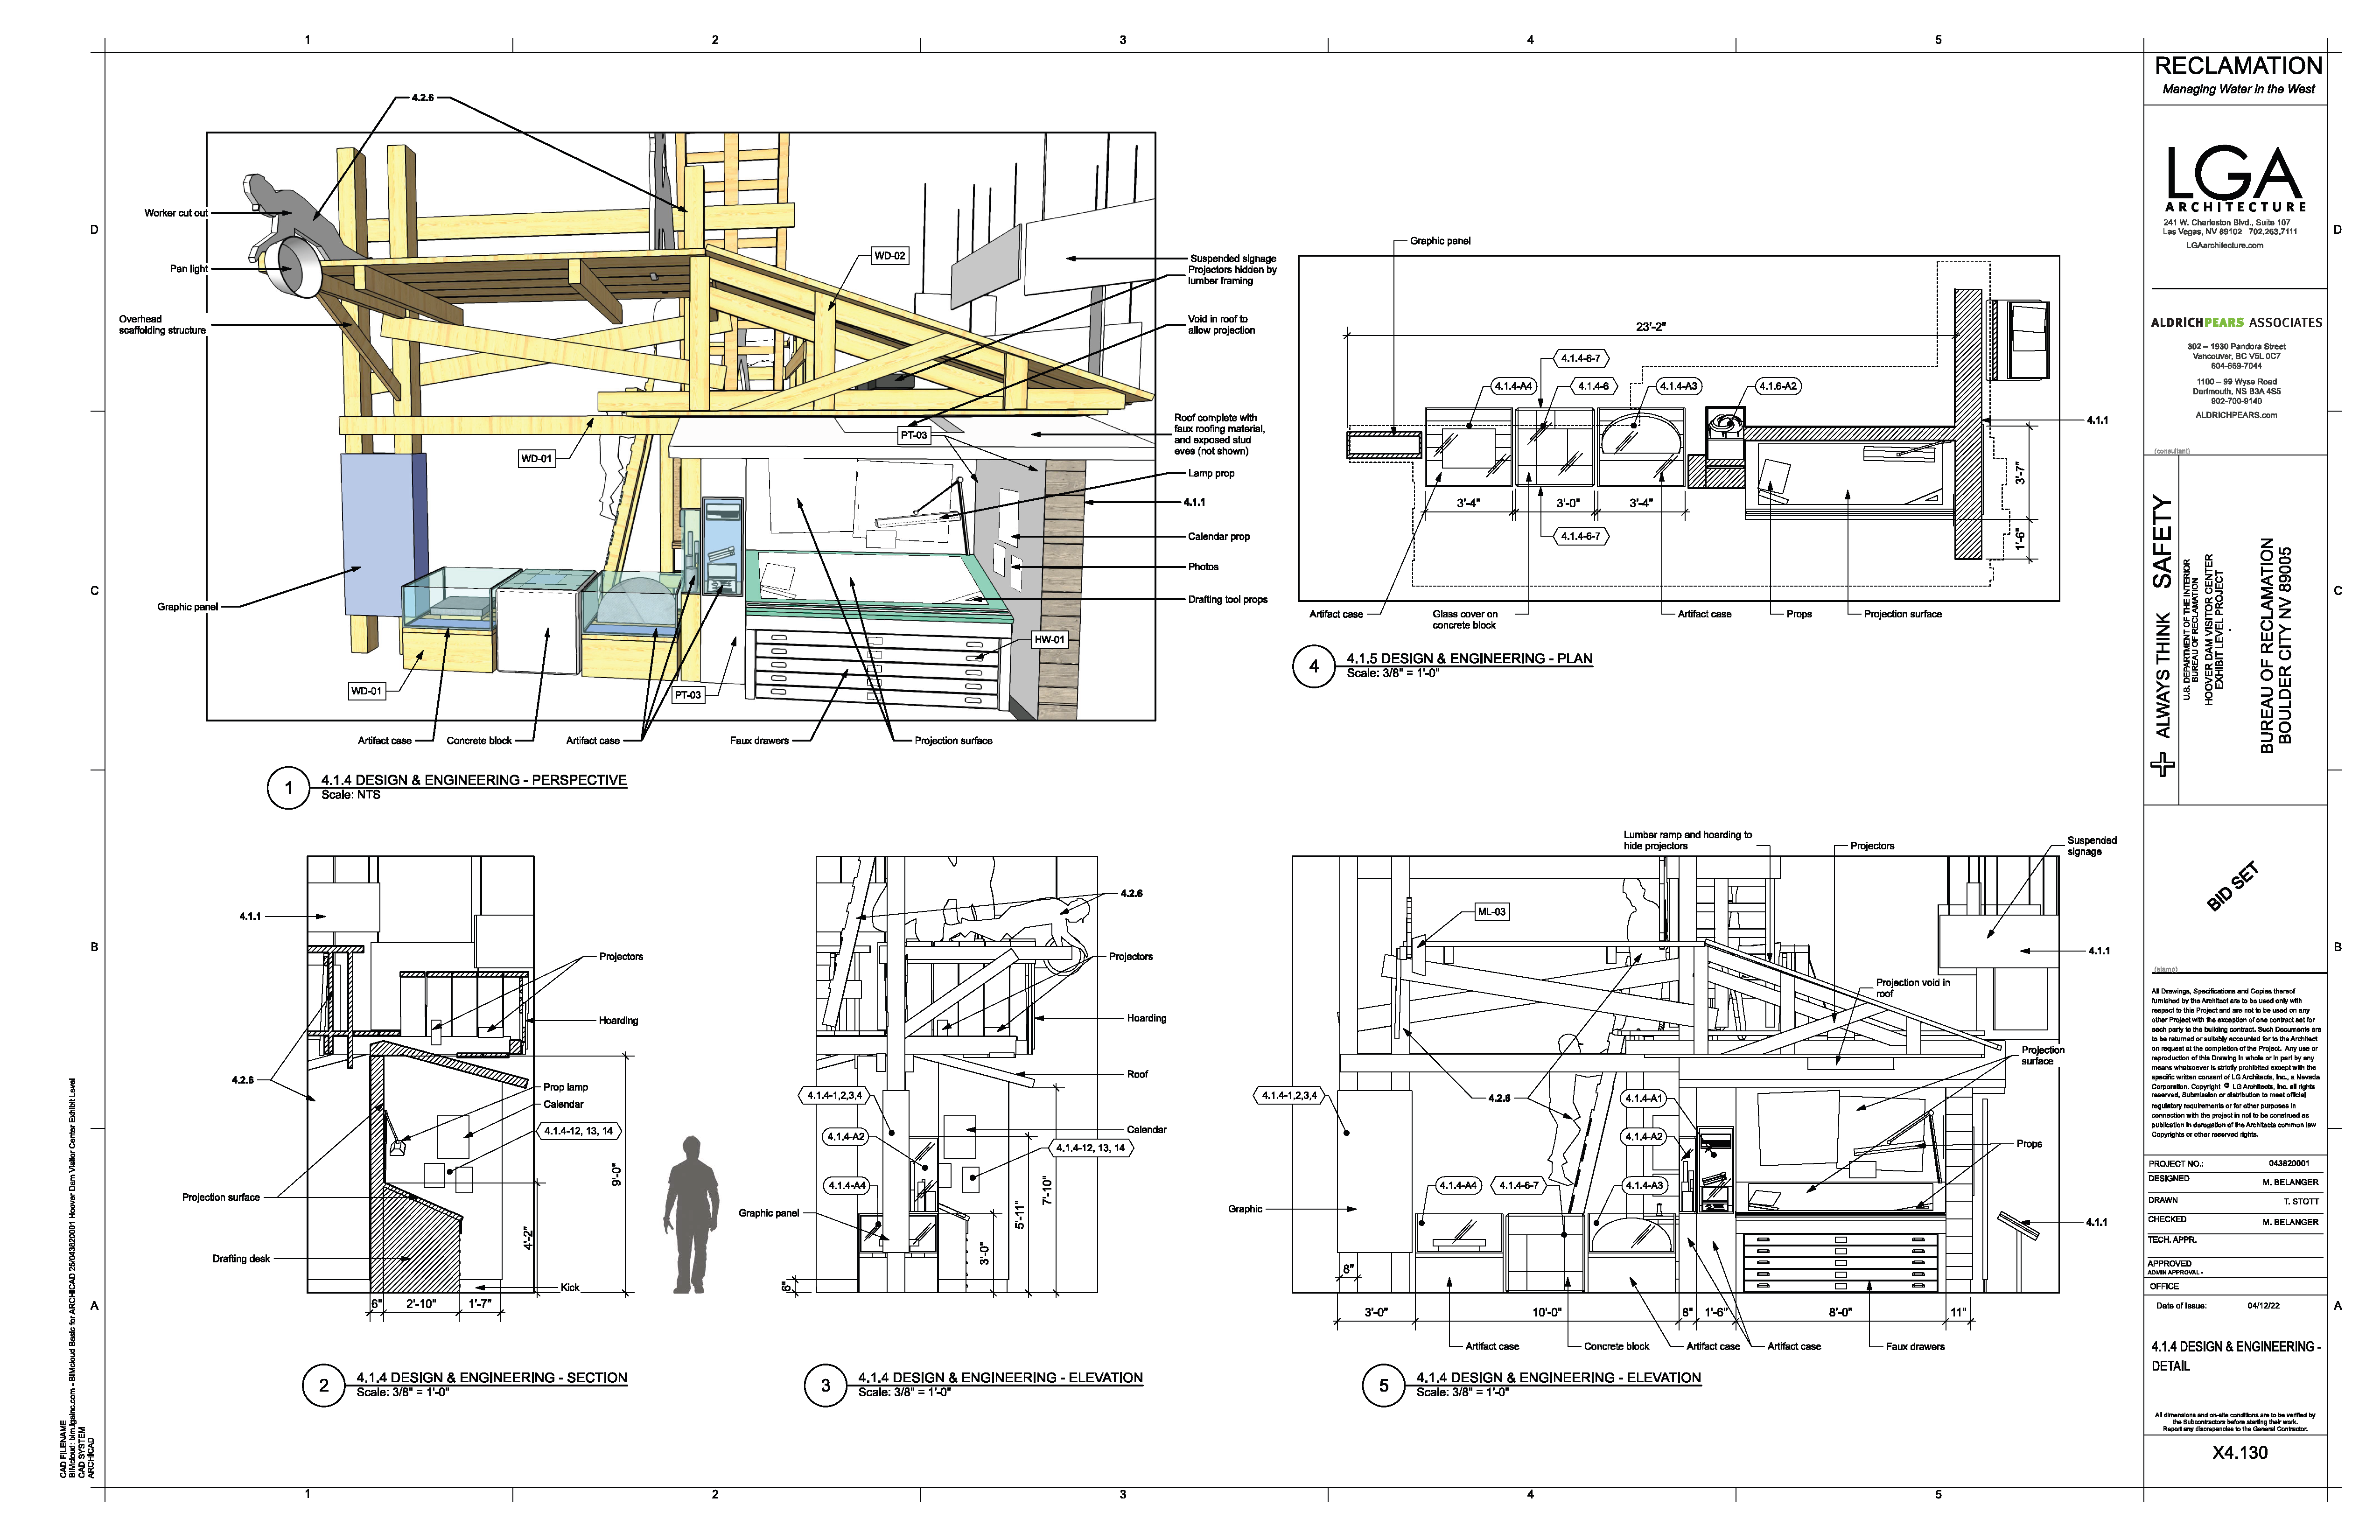
System render showing the two-projector layout and device placement.
🔌 Wiring Diagram

Signal and power wiring: media source to IDK HDBaseT transmitters to the two ceiling projectors.
🎛️ Controls
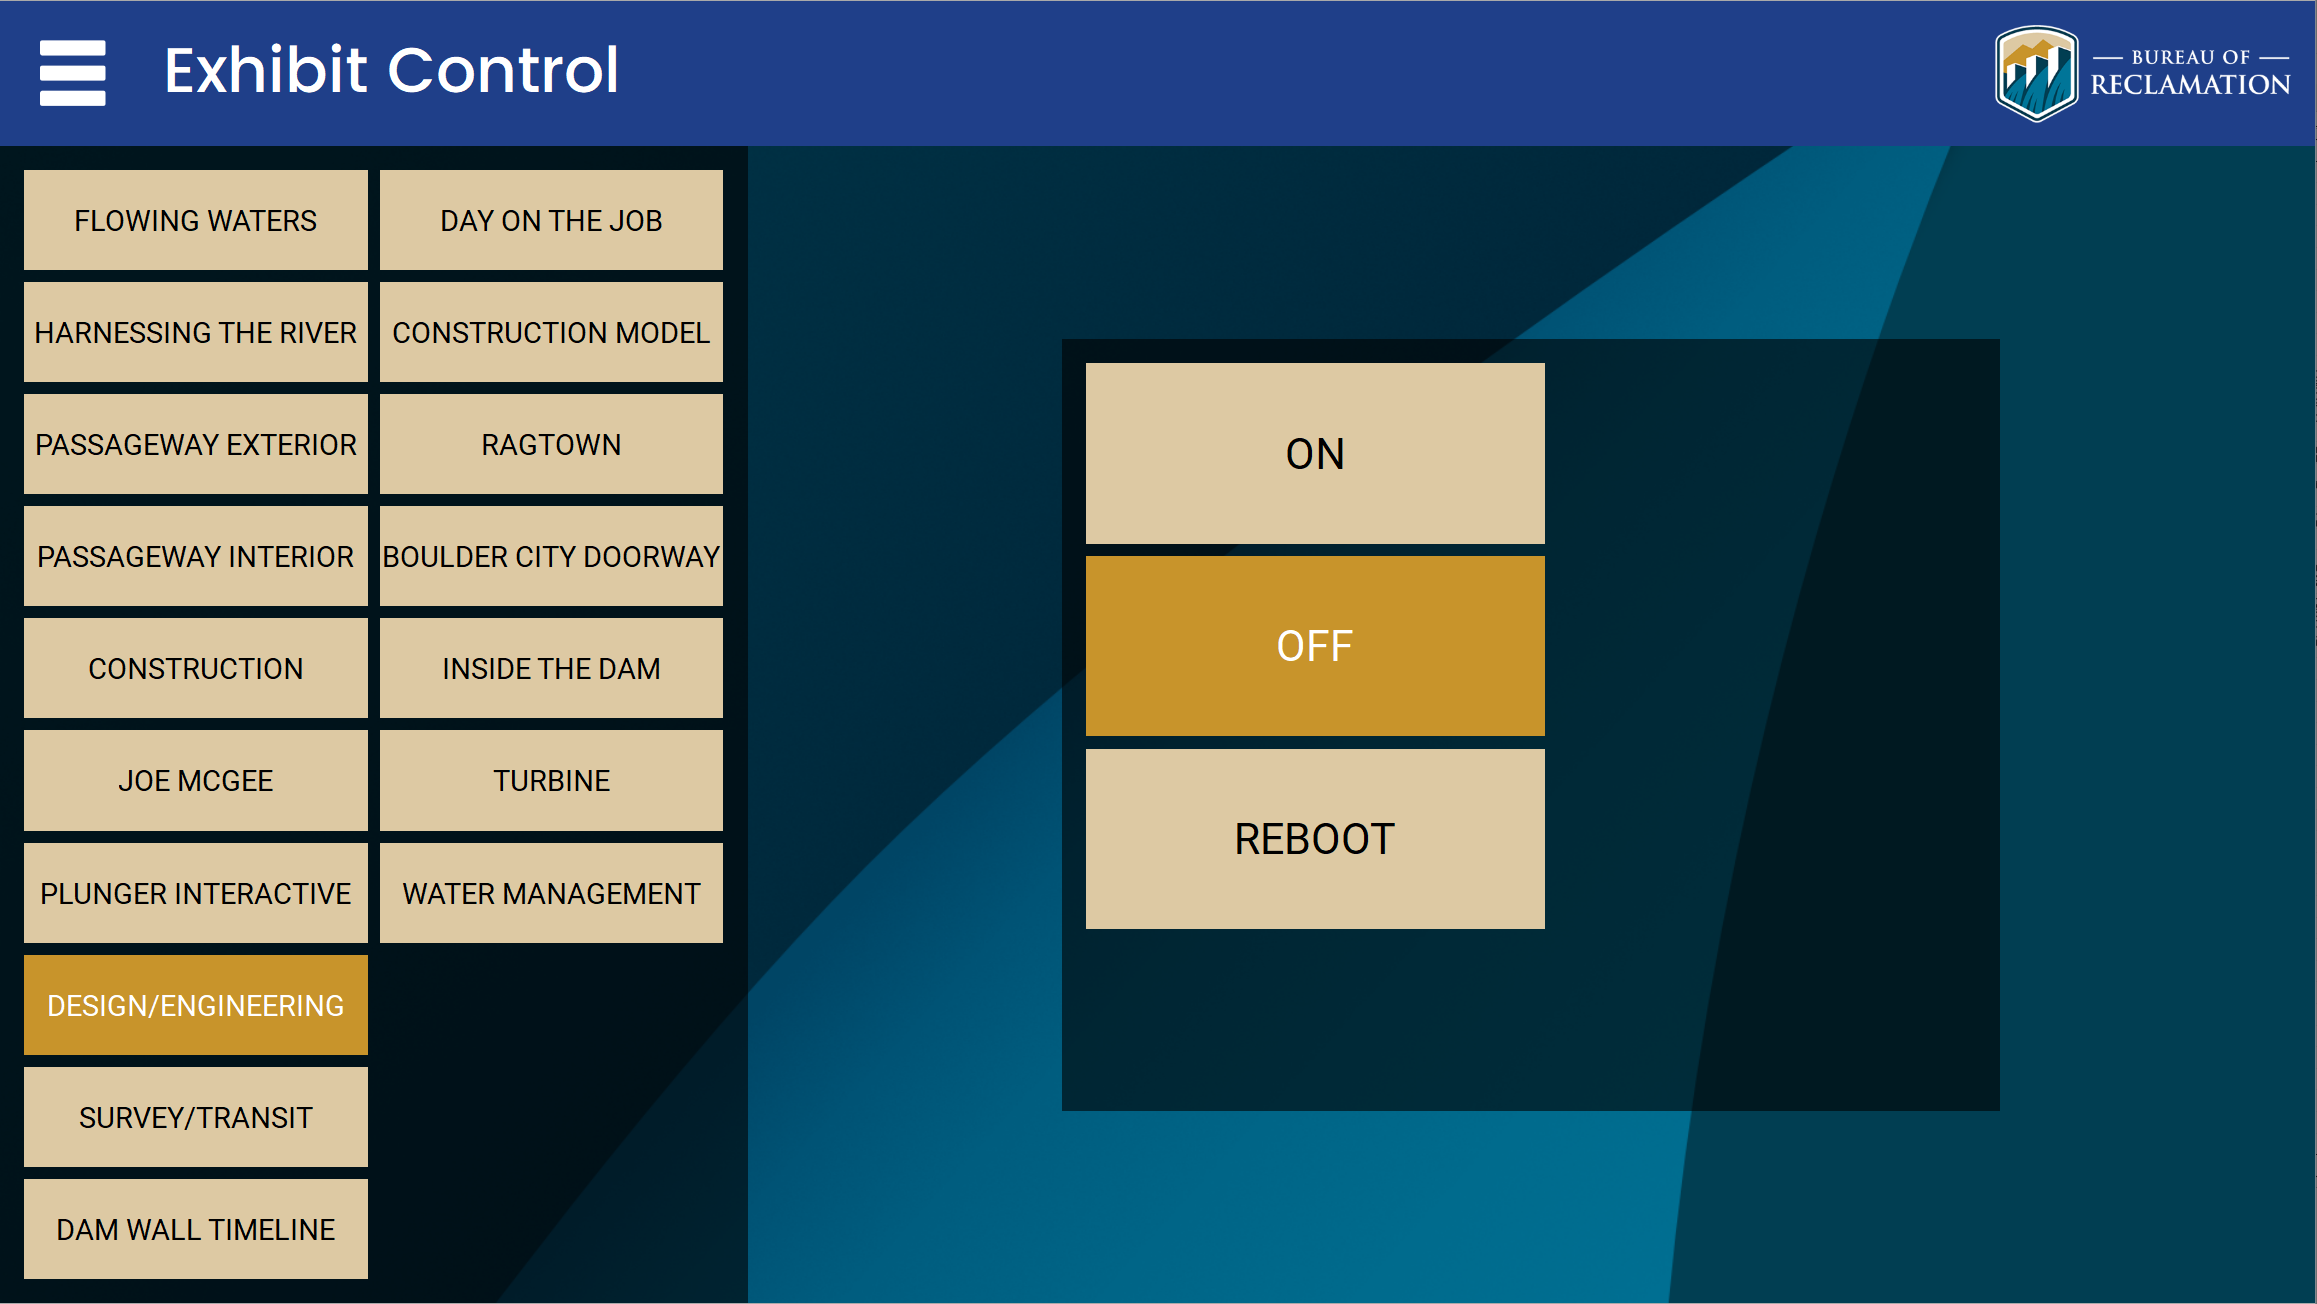
Power on/off and reboot are handled through the control tablet and the Q-SYS/Ottomater show controller. Ottomater cues for this exhibit: ON 71, OFF 72, reboot 73.
🛠️ Operation
- The exhibit powers on automatically with the global schedule (7:00 AM to 6:00 PM) or can be overridden from the control tablet.
- Confirm both projectors show video and the blended image aligns cleanly across the seam.
- Verify the media source is outputting the design-and-engineering animation to both projectors.
- To restart, reboot the exhibit from the control tablet (Ottomater reboot cue 73).
🧰 Maintenance
- Periodically check the Epson air filters and clean per Epson guidance; confirm there are no filter or temperature warnings in Epson Web Control.
- Confirm both HDBaseT links are stable with no dropouts at the IDK transmitters/receivers.
- Verify projector power and shutter state via PJLink (TCP 4352) or the network monitor.
⚙️ Configuration
Applications Used
- Epson Web Control / Projector Management: power, lens and geometry, and status per projector.
- PJLink (TCP 4352): power, laser hours, and shutter monitoring.
- IDK HDC-S01U web UI: HDBaseT transmitter status and EDID settings.
- Q-SYS Designer / Ottomater: scheduling and power cues (ON 71, OFF 72, reboot 73).
Connection Details
- Epson Projector (PRJ01-03): http://10.10.0.70
- Epson Projector (PRJ01-04): http://10.10.0.71
- Media source: BrightSign XT2145 (DVP07-01) at http://10.10.0.72. (The original equipment list specified an Intel media computer; the BrightSign is what is installed.)
Note: the live page previously listed DVP01-01 (10.10.0.75) and DVP01-02 (10.10.0.76) here. Per the device inventory those are the interactive PC kiosks for 4.1.6 Surveyor/Transit Views and have been moved to that page.
Updating Media
- Connect to the BrightSign player (DVP07-01) web UI at http://10.10.0.72.
- Replace the animation content in the player's content store.
- Restart playback and confirm both projectors display the updated, aligned image.
Adjusting Projection Geometry
- Open Epson Web Control for each projector (http://10.10.0.70 and http://10.10.0.71).
- Use lens shift, focus, and geometry correction (point and curved correction) to align each image and blend the seam.
- Match brightness and color between the two projectors, then save the settings on each projector.
🔧 Troubleshooting
One or both projectors show no video, or the blended image is misaligned across the seam10.10.0.70 / 10.10.0.71
Why
Usually the media source stopped outputting, or a projector lost its HDBaseT link. The two Epson projectors are at http://10.10.0.70 and http://10.10.0.71.
Do this
- Confirm both projectors are powered (via PJLink or the network monitor) and check the HDBaseT links.
- Reboot the exhibit from the control tablet (Ottomater reboot cue 73) and allow the source to restart.
Still stuck
If video does not return after one reboot, or the blend needs realignment beyond small corrections, contact support. Large geometry changes are specialist work.
If the first action does not resolve it, contact the KMI AV support team: Brian Alexander, 214-799-1850, Brian.Alexander@OnyxIntegrations.com.